一般OC中,我们使用的是NSAssert。在Xcode4.2以后,Xcode会在release环境下自动把NSAssert忽略掉,确保release环境不会出错。
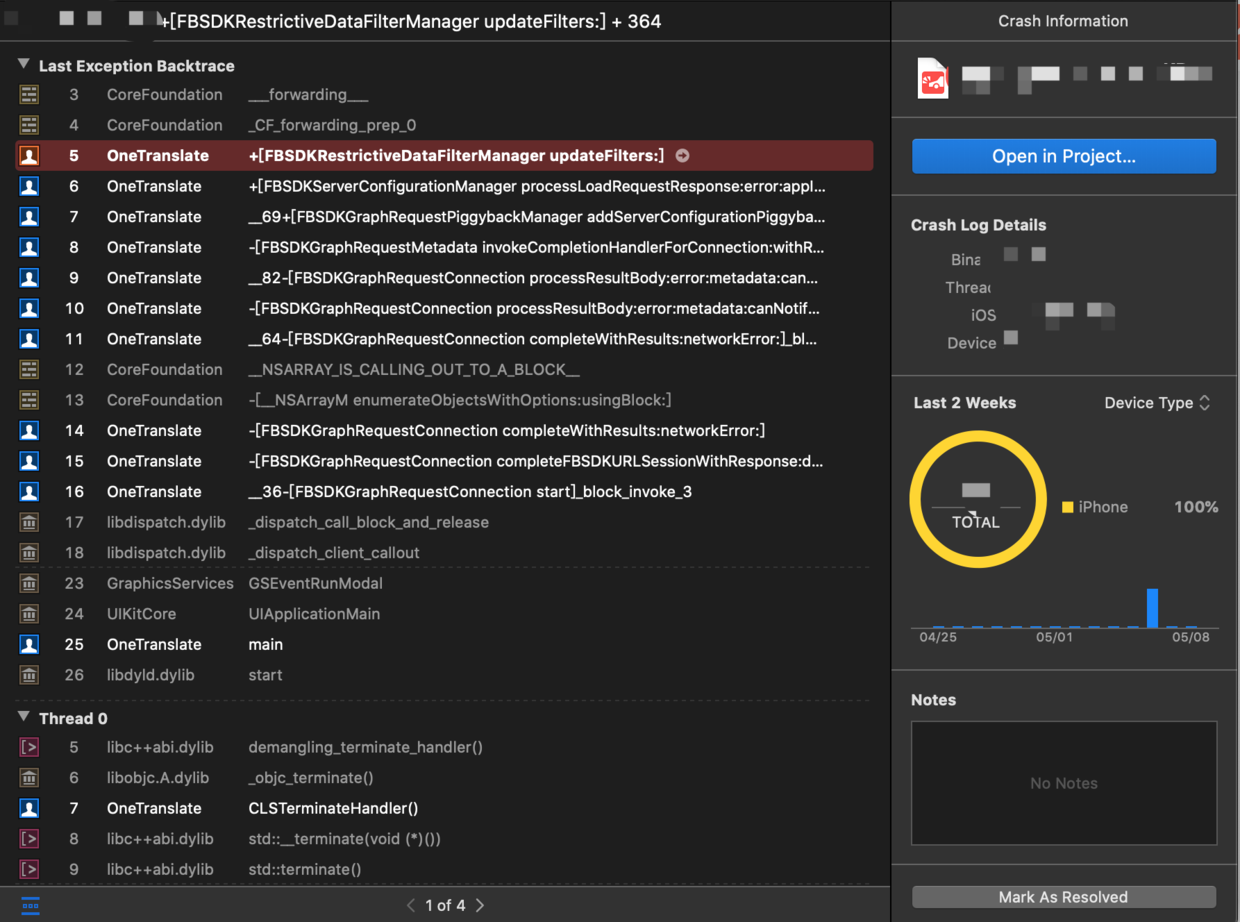
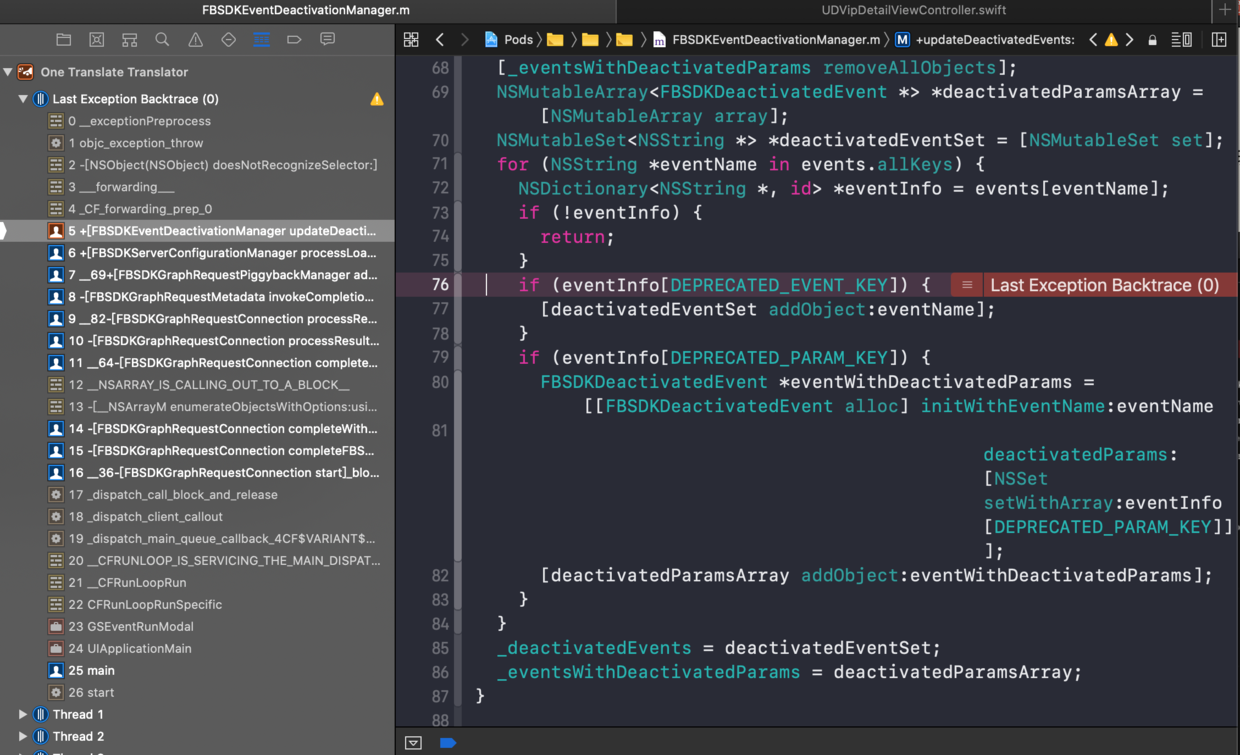
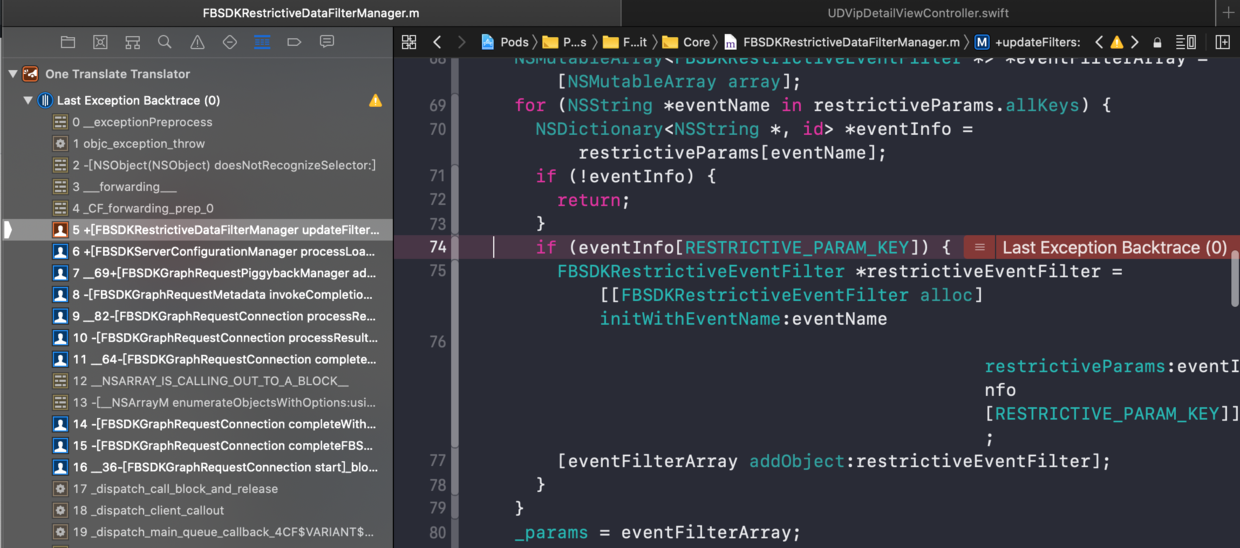
assert的坑 最近遇到一个问题,线上Crash定位在了一个pod库中的assert方法,在OC里面调用assert是用的C语言的assert。结果在release环境下也生效了,直接造成了Crash。
查找了一些资料,找到了解决方案。
通过查询源码发现,在C语言中是如何忽略的assert的
#undef assert
#undef __assert

#ifdef NDEBUG
#define	assert(e)	((void)0)
#else

#ifndef __GNUC__
源码地址详见:https://opensource.apple.com/source/Libc/Libc-583/include/assert.h.auto.html
NDEBUG是C语言中的一个标准宏,其语义适用于C89,C99,C ++ 98,C ++ 2003,C ++ 2011,C ++ 2014标准。https://stackoverflow.com/questions/2290509/debug-vs-ndebug
根据源码可知,如果定义了NDEBUG,那么assert就返回void,就不会再生效。
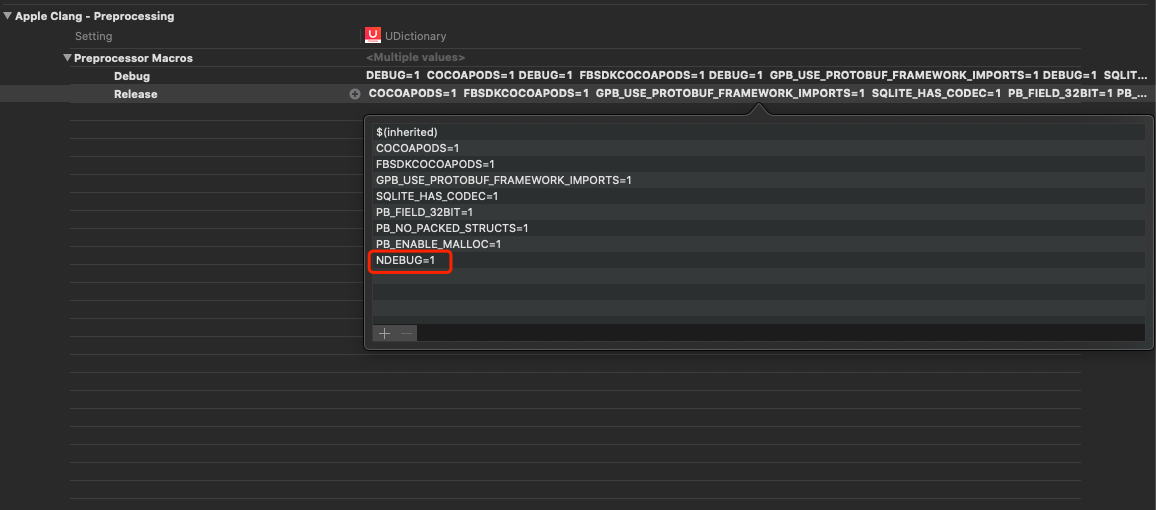
那么我们只需要在主工程中,选择Bulid Settings选择Preprocessor Marcos在Release中添加NDEBUG=1即可。
但是需要注意的是,只修改主工程并不会对pod库生效,所以还需要对pod库进行处理!
在pod库中一个一个修改太麻烦,并且每次pod install后就会失效,我们需要从podfile文件入手。
post_install do |installer| installer.pods_project.targets.each do |target| target.build_configurations.each do |config| config.build_settings['IPHONEOS_DEPLOYMENT_TARGET' ] = '10.0' if config.name == 'Release' config.build_settings['GCC_PREPROCESSOR_DEFINITIONS' ] || = ['$(inherited)' , 'NDEBUG=1' ] end end end end
判断是否是Release环境,如果是就在build_settings中的GCC_PREPROCESSOR_DEFINITIONS添加$(inherited)和 NDEBUG=1。
$(inherited)是继承Pods工程的设置
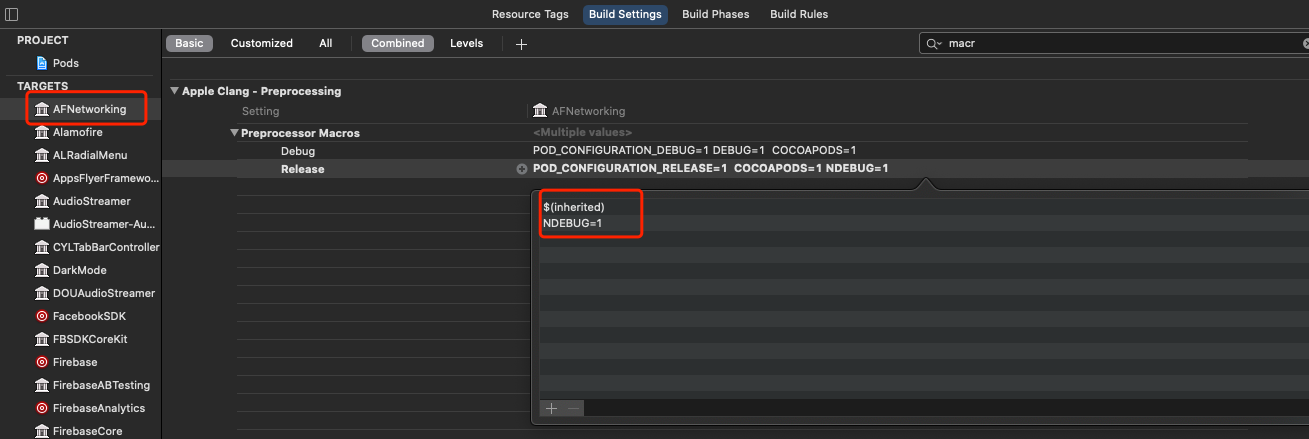
添加完后执行pod install,就可以发现每个pod库的Preprocessor Marcos中,在Release下都添加了NDEBUG=1
NSAssert介绍 说完assert,再来说说我们常用的NSAssert
NSAssert细分为
NSAssert/NSCAsseetNSParameterAssert / NSCParameterAssert
他们的区别如下:
NSAssert 和 NSParameterAssert 只适用于OC环境中。NSCAsseet 和 NSCParameterAssert 适用于C语言环境中
当 NSAssert 或 NSParameterAssert 的条件不满足时,断言处理器会调用-handleFailureInMethod:object:file:lineNumber:description:方法。-handleFailureInFunction:file:lineNumber:description: 方法。
NSAssert和NSAssert都有一些变体,例如NSAssert1、NSAssert2、NSCAssert1、NSCAssert2等等。他们的区别是会输出不同的参数。https://developer.apple.com/documentation/foundation/nsassert1
从Xcode4.2以后,会自动在release环境下忽略NSAssert等断言函数。它是通过定义 NS_BLOCK_ASSERTIONS 宏实现的,确保不会对release环境有影响。
我们可以在很多第三方库中看到他们定义的assert,关闭条件也是基于NS_BLOCK_ASSERTIONS
#ifndef _GTMDevAssert #if !defined (NS_BLOCK_ASSERTIONS) #define _GTMDevAssert (condition, ...) \ do { \ if (!(condition)) { \ [[NSAssertionHandler currentHandler] \ handleFailureInFunction :(NSString *) \ [NSString stringWithUTF8String:__PRETTY_FUNCTION__] \ file :(NSString *)[NSString stringWithUTF8String:__FILE__] \ lineNumber :__LINE__ \ description :__VA_ARGS__ ]; \ } \ } while (0 ) #else #define _GTMDevAssert (condition, ...) do { } while (0 ) #endif
NSAssert和NSCAssert底层都是通过NSAssertionHandler来实现的,只有2个实现方法
-handleFailureInMethod:object:file:lineNumber:description: NSAssert/NAParamterAssert调用-handleFailureInFunction:file:lineNumber:description: NSCAssert/NACParamterAssert调用
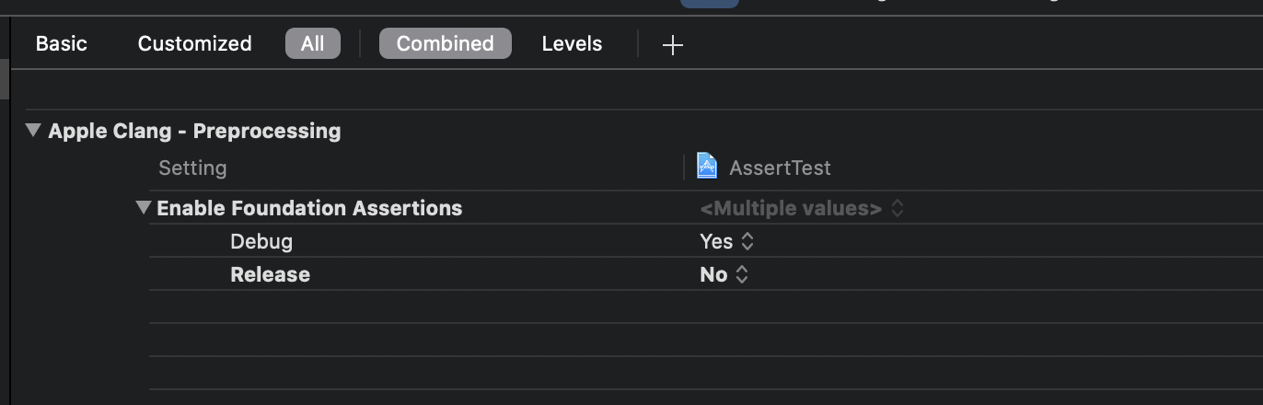
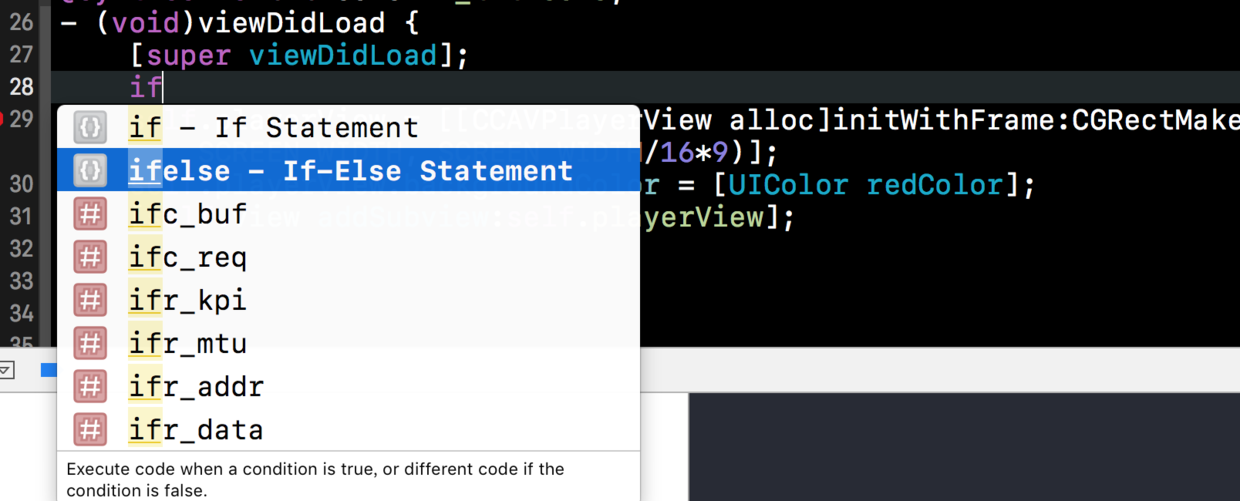
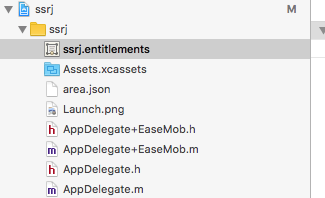
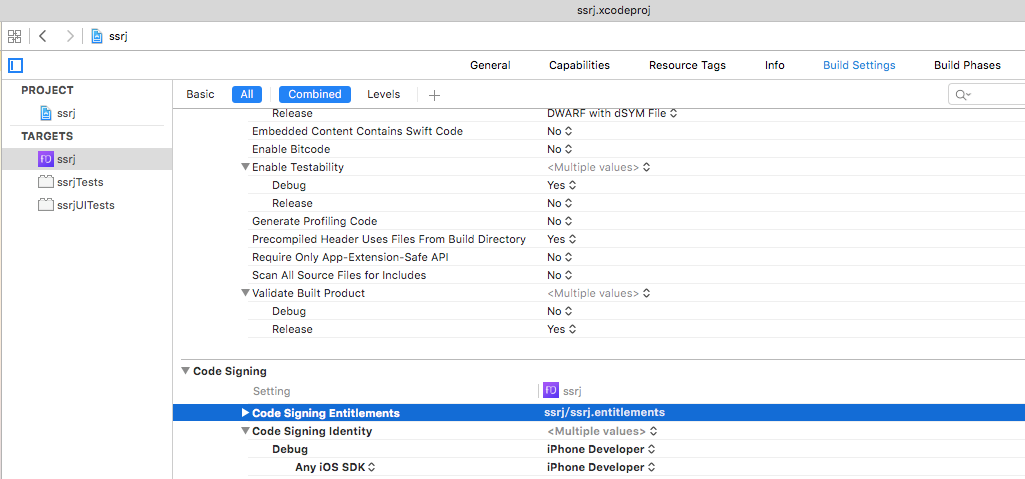
Xcode的开关在
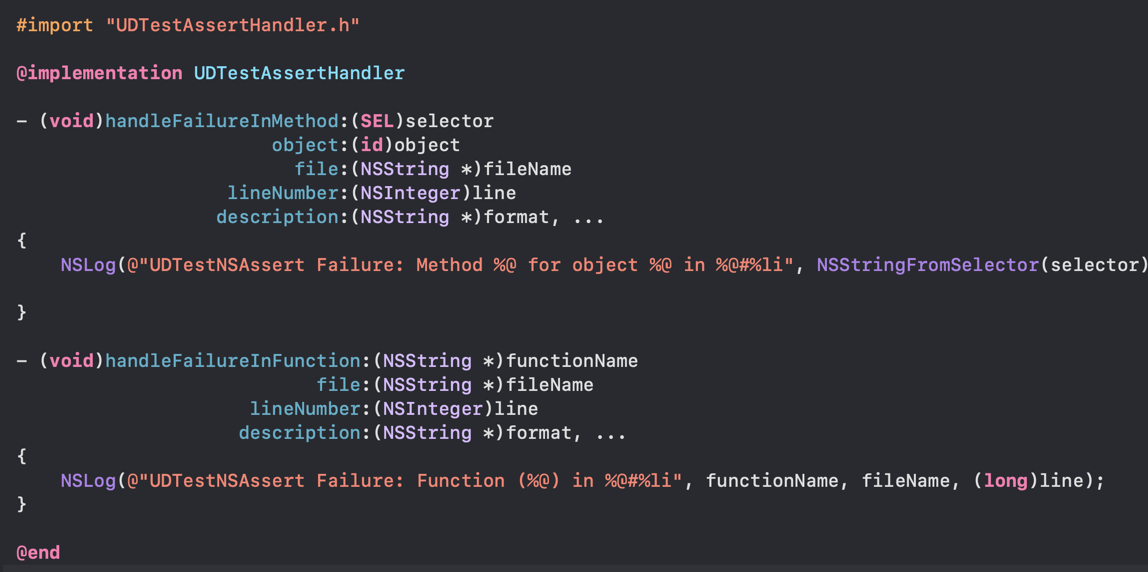
我们也可以自定义NSAssert
继承NSAssertionHandler,重写handleFailureInFunction:file:lineNumber:description和handleFailureInMethod:object:file:lineNumber:description:
在AppDelegate中注册
- (BOOL )application:(UIApplication *)application didFinishLaunchingWithOptions:(NSDictionary *)launchOptions { NSAssertionHandler *handler = [[UDTestAssertHandler alloc] init]; [[[NSThread currentThread] threadDictionary] setValue:handler forKey:NSAssertionHandlerKey ]; return YES ; }
NSAssert的坑 NSAssert在OC中,会存在循环引用问题
- (IBAction )buttonAction:(UIButton *)sender { TestMode *mode = [TestMode new]; self .mode = mode; mode.textBlock = ^{ int k = 0 ; NSParameterAssert (k == 0 ); NSLog (@"123" ); }; mode.textBlock(); }
循环引用的根源在于NSAssert定义中使用了self
#if !defined (_NSAssertBody)#define NSAssert (condition, desc, ...) \ do { \ __PRAGMA_PUSH_NO_EXTRA_ARG_WARNINGS \ if (__builtin_expect(!(condition), 0 )) { \ [[NSAssertionHandler currentHandler] handleFailureInMethod :_cmd \ object :self file :@(__FILE_NAME__) \ lineNumber :__LINE__ description :(desc) , ##__VA_ARGS__ ]; \ } \ __PRAGMA_POP_NO_EXTRA_ARG_WARNINGS \ } while (0 ) #endif
我们可以试用@weakself 和 @strongself来解决。不过在release环境下,assert并不会调用。所以推荐试用NSCAssert和 NSParameterAssert